
Changing the names of Slack channels, or "altering slack channel titles," is a task that often falls to teams.
This can occur as projects shift or begin. However, surprisingly, this could cause confusion for some, mainly if they don't get the needed permits or have no prior experience. In this piece, we'll lead you through how to successfully change the name of a slack channel.
We'll also give you the 411 on controlling archived and private channels, introduce you to a handy tool named 'Suptask', that aims to simplify your workspace by making Slack a Help Desk.
Key Takeaways
- Rename Slack channels with this step-by-step guide, ensuring permissions are in place beforehand.
- Manage archived and private channels accordingly when renaming. Streamline workspaces using Suptask for improved productivity and the best halp alternative.
- Communicate changes to your team via a public channel announcement & troubleshoot common issues by checking unique names & referring to the API documentation.
The Renaming Process: A Step-by-Step Guide
Changing the name of a Slack channel is a straightforward task. Note well that only the workspace owners, admins and channel founders are allowed to rename public and saved channels. Now that we've cleared that up, let's dive into the process of changing the name.
Checking Permissions Before You Begin
First, ensure you've got the required permissions to alter the Slack channel name. Remind yourself of this before initiating any modification.
Various permission tiers are provided by Slack, like Owner, Admin, Member, and Guest. Each grants different access levels in the workspace. Check your permission status by implementing the procedure from Fact 1.1_1, which will confirm if your role is compatible with the task. If it isn't, reach out to your workspace chief to gain necessary access.
Make sure you have the right to rename the channel. Keep confusion to a minimum. Make it easy for everyone. Put in the new name after checking your rights.
Entering the New Channel Name
To access the relevant field to rename a Slack channel, follow these steps:
1. Navigate to the channel you wish to rename.

2. Click on the channel name in the conversation header. A new window with the channel details will appear.
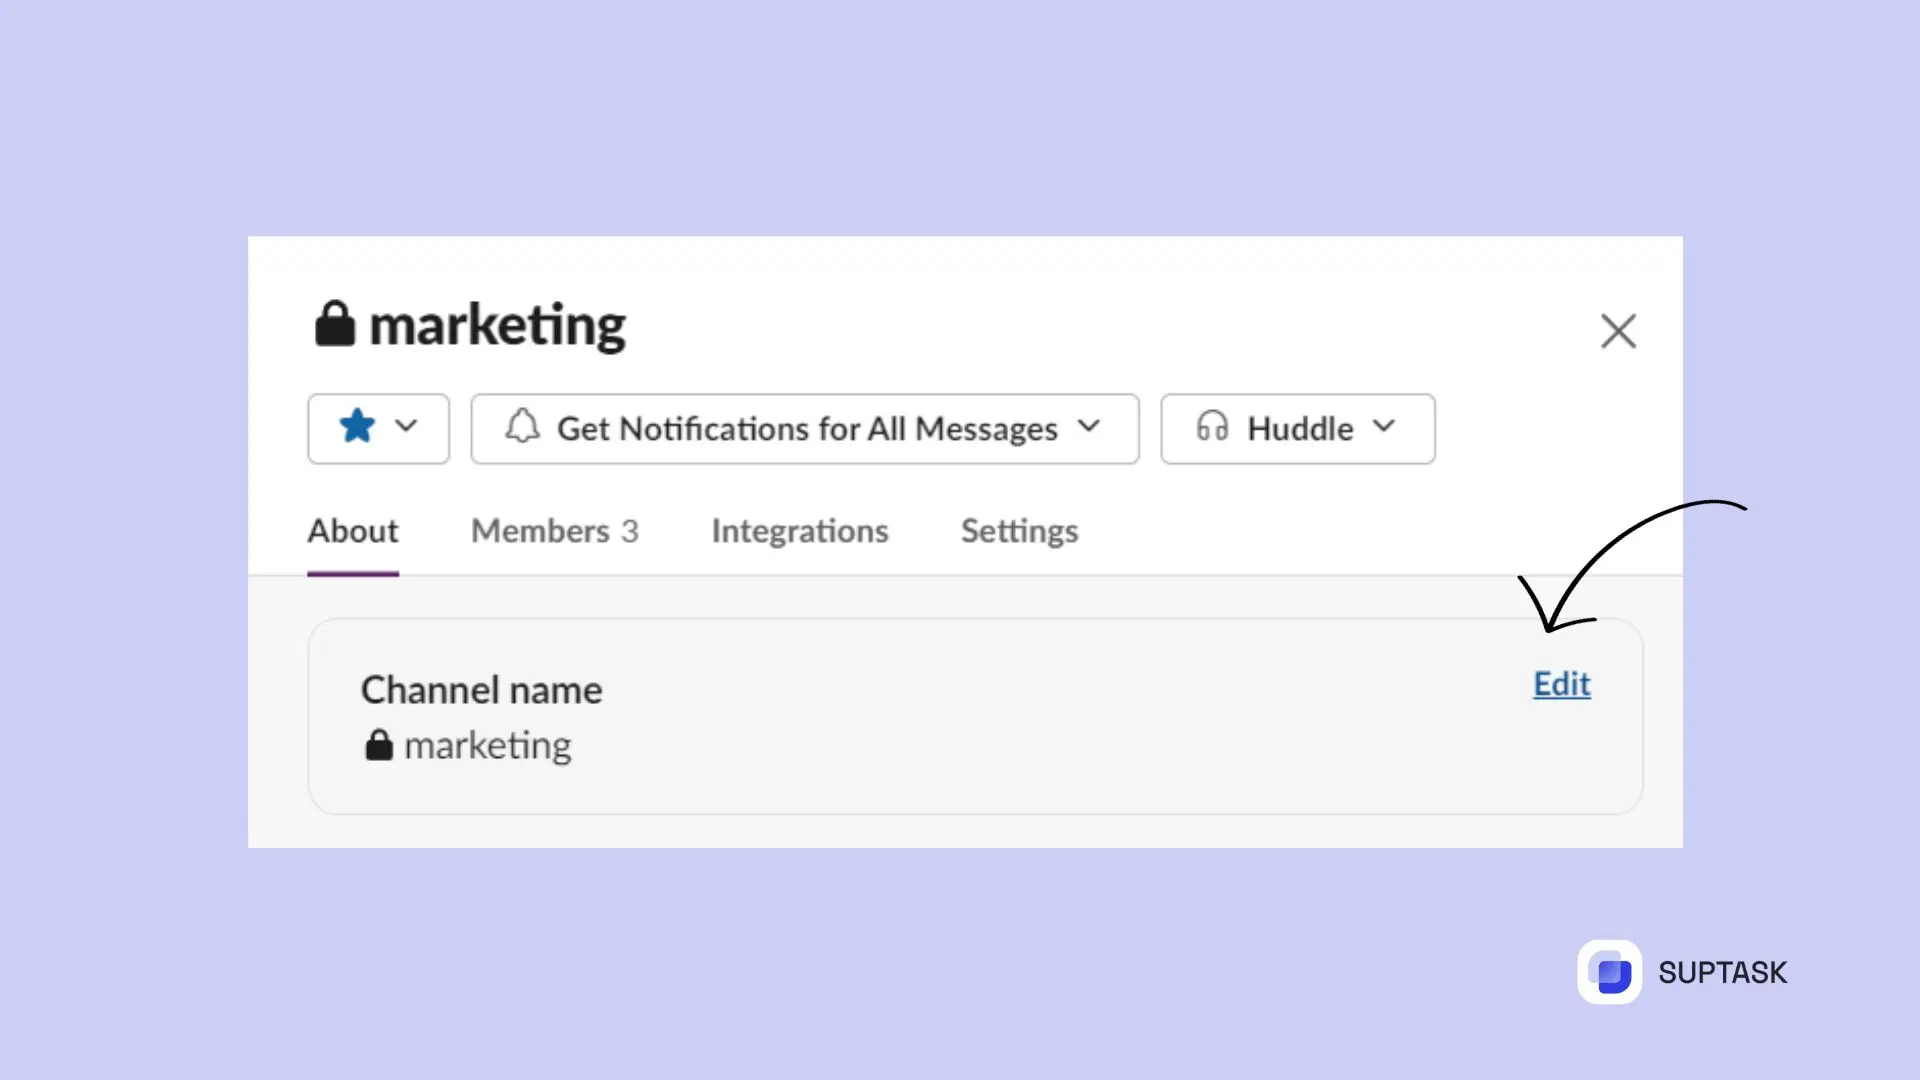
3. Click on the ‘Edit’ button to modify the channel’s name.
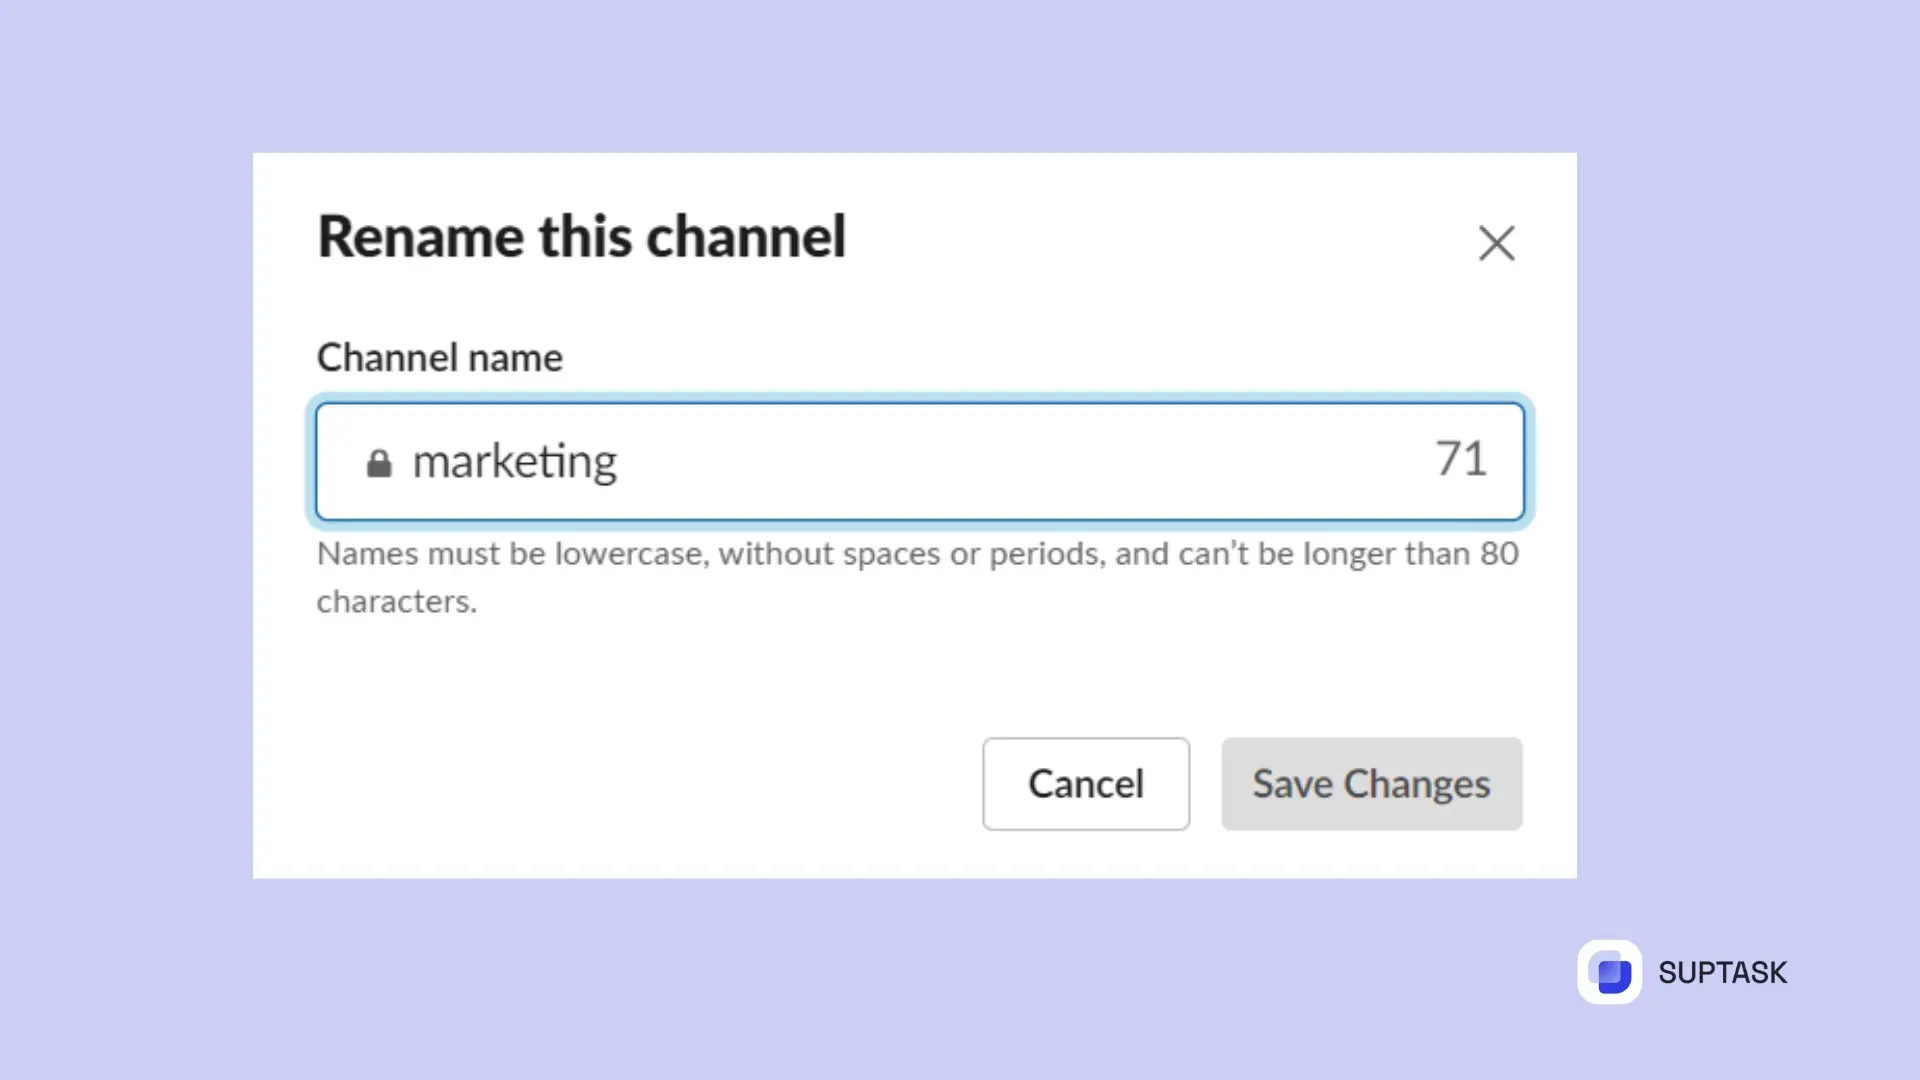
When choosing a new name, keep in mind that it must:
- Be written in all lowercase letters
- Not contain spaces or periods
- Not exceed 80 characters
- Only include lowercase letters, numbers, hyphens, and underscores
With these constraints, you have few options to consider while selecting a suitable channel name.
After entering the desired name, it’s time to confirm the changes and save your work.
Confirming Changes and Saving
After typing the fresh channel name, hit 'Save' for the alter to take effect. It's a good idea to let your team know about the name change to avoid mix-ups.
You can post a note in the channel or send a direct message to regular users. This helps maintain smooth collaboration as everyone stays informed.
Renaming Slack Channels on Mobile Devices
Switching through a mobile device is nearly the same as doing so on a computer. Start the Slack application on your mobile phone, choose the suitable channel using the left sidebar, and hit the channel title at your screen's crest.
Like the computer format, using your smartphone needs admin rights or the correct control abilities to change the name. After typing the new title, press 'Save Changes' to make your changes stick.
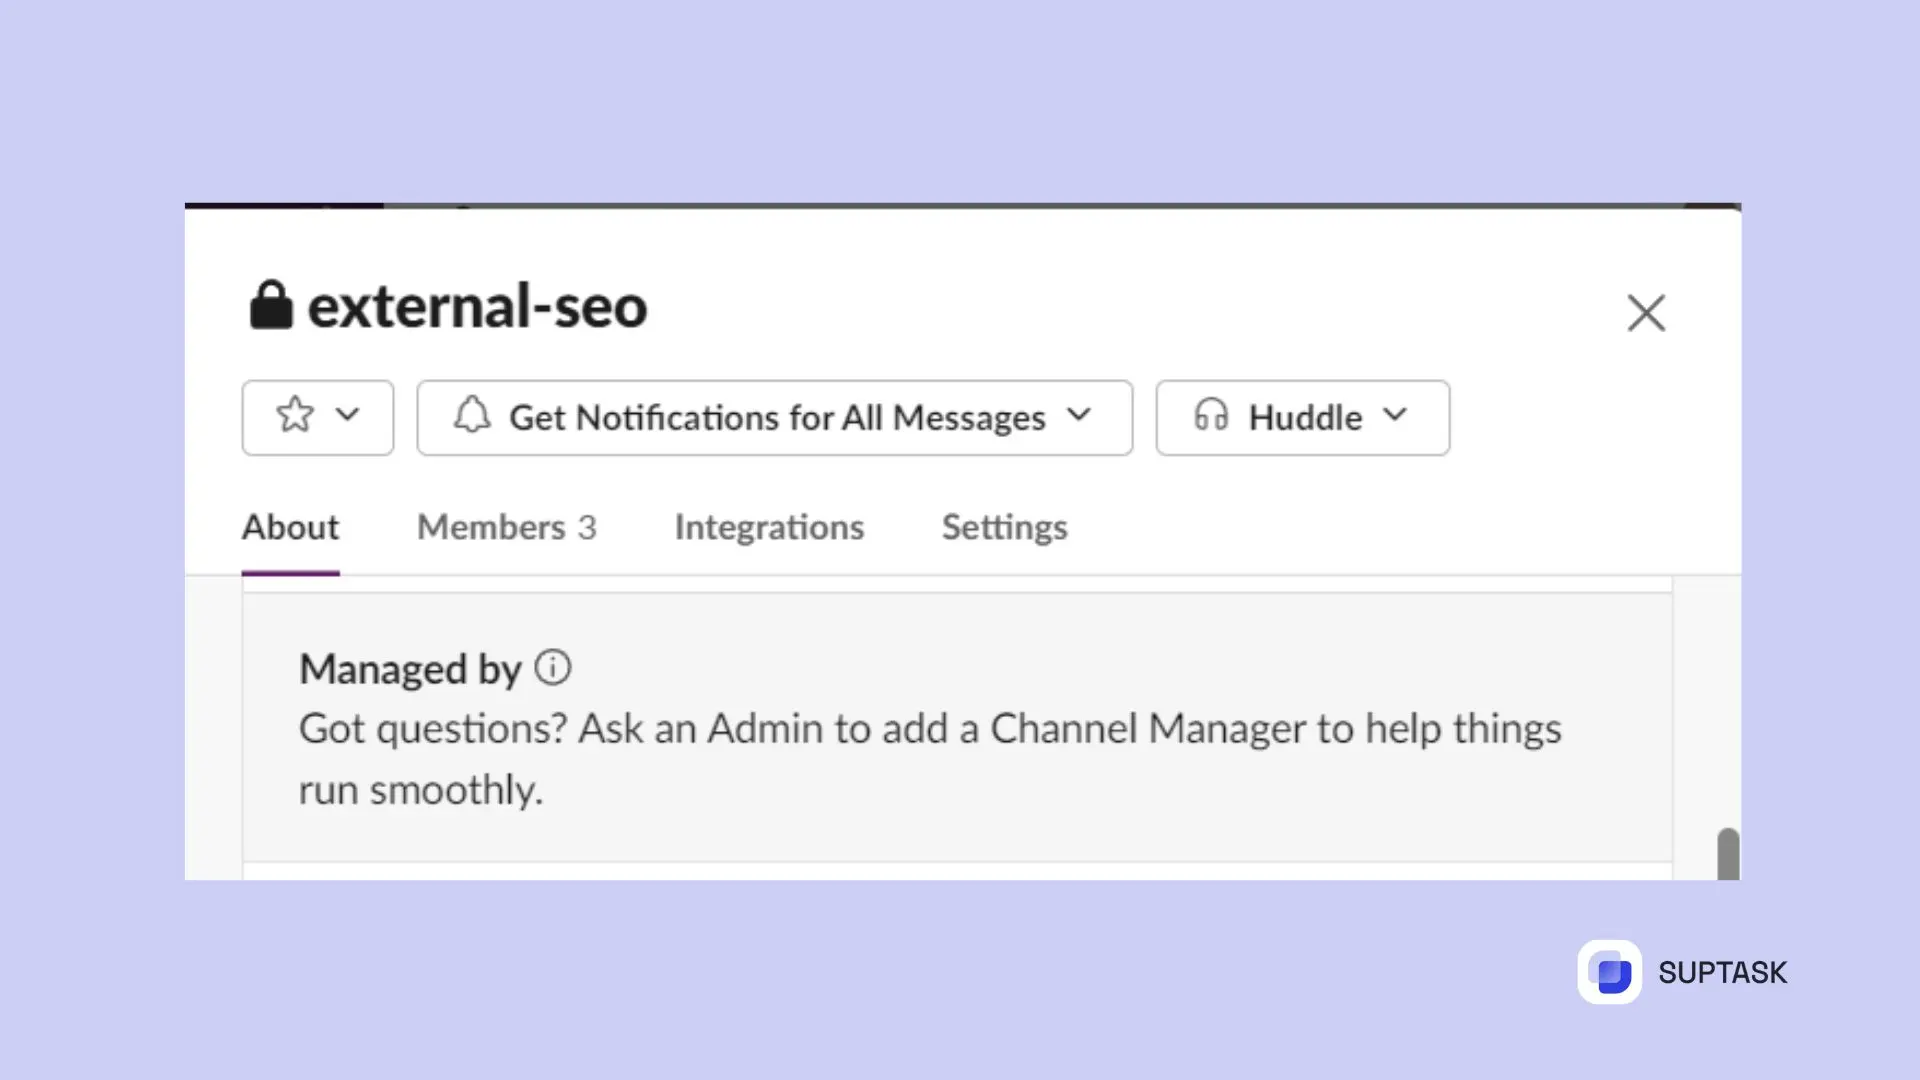
Managing Archived and Private Channels
To rename an archived channel, there's an added step: unarchive the channel first. This is true for all categories - public, private, and unused channels. If you follow the steps given before, renaming an unarchived channel seems easy.
Switching the names of private channels follows like steps. Be sure to tell your team members about the switch as mentioned in area 5. This helps everyone stay updated and focused.